Live Preview
Frontend Creator uses GitHub Pages for rendering your static web applications. GitHub Pages are great for static content but when you are developing your application and making rapid changes, you may find that you are waiting for GitHub Pages to update with your latest changes.
This is where Live Preview provides a much better experience by communicating directly with the inline preview IFrame or any tab launched from Frontend Creator for preview.
There are few steps required to enable live preview. We will address them now.
- First, you will need to have already gone through the GitHub Configuration steps
- Once, you have your GitHub username and personal access token setup, we will use the New Project dialog to create a new project
- Click on the New Project button in the Navigation Panel
Enter
skeleton-esnext-preview, or any unique name, for the name of the project and clickNext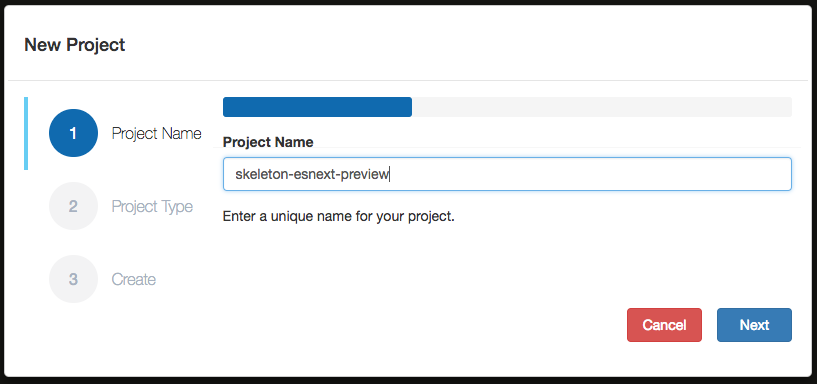
Select
Customfor the Project Type and entermattduffield/skeleton-esnextfor the GitHub URL and clickNext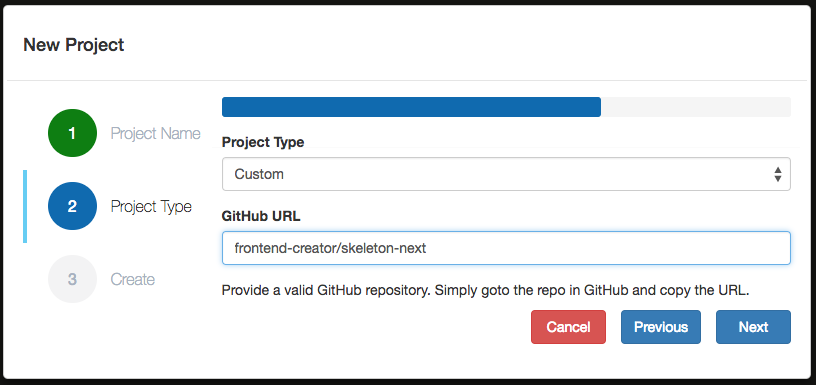
You should now be ready to create the new project. This will copy all of the contents of the project specified in the GitHub URL and create a repository with the unique name you provided earlier. Click
Createto proceed
Frontend Creator will create your new project. It can take several seconds to complete. Once completed, you should see your new project in the
Navigation Panel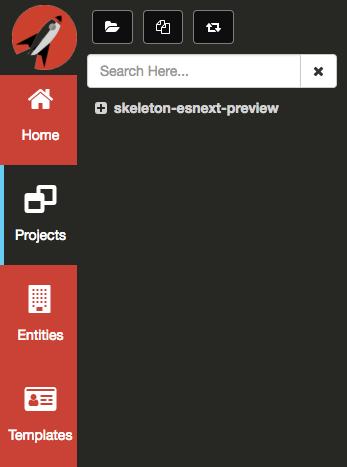
Before we continue, let's enable GitHub Pages so that we can preview our changes
We are finally ready to start configuring our project for Live Preview. We begin by creating a new file:
index.prod.htmland copy all of the contents fromindex.htmlinto itNext, we will delete the
index.htmlfile as it will be generated for us. You tree should look like the following: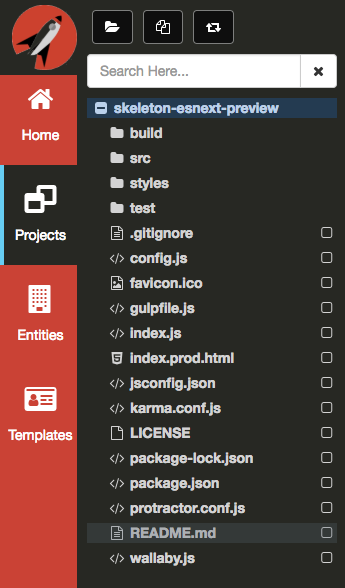
Now,
right-clickthe root of your project and selectConfigure Live Preview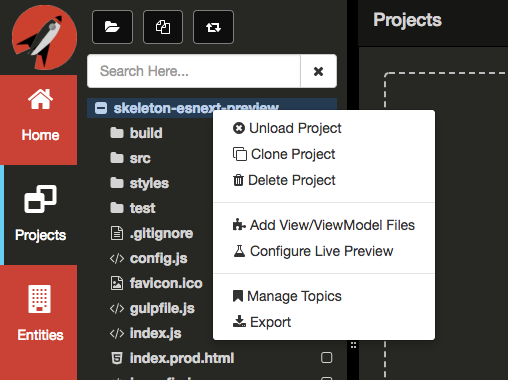
Take care to call this only once!
You should now see that five new files have been created for you
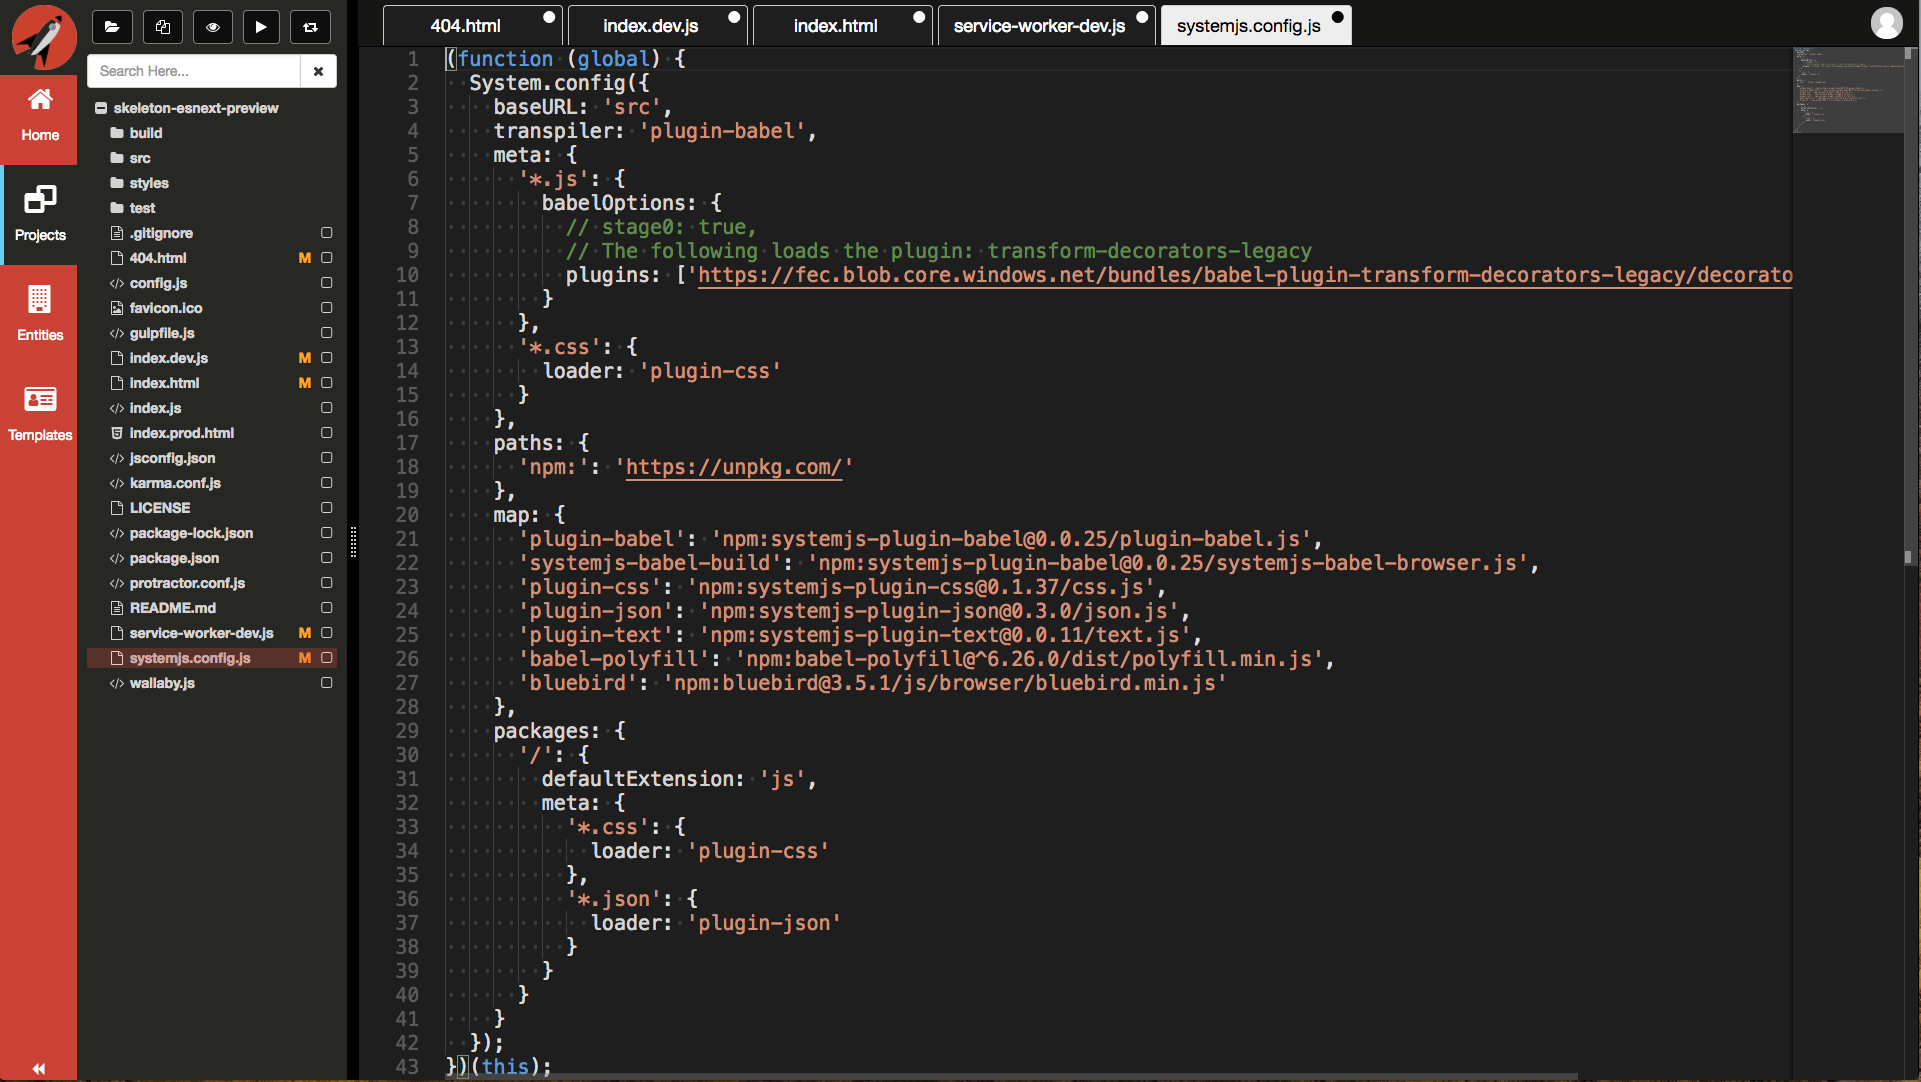
These files are how we can support Live Preview:
- 404.html - GitHub Pages look for a 404.html file when requesting anything other than
index.html - index.dev.js - this file builds the SystemJS config settings dynamically. It does this by looking at the
package.jsonfile. Therefore, it is necessary to have your dependencies defined. The file also registers theservice-worker-dev.jsas well as listens to themessageevent. When a file is changed, the samed cached file is updated so that the service worker will get the correct cached version - index.html - This file works with the
404.htmlfile. It also brings in SystemJS and does an initial configuration usingsystemjs.config.jsas well as brings inindex.dev.js - service-worker-dev.js - This file allow us to use the Cache API and store Fetch requests
- systemjs.config.js - This is a simple baseline setup for SystemJS. All additional project specific entries are accomplished via the
index.dev.jsfile
Before you do anything else, commit your changes by right-clicking the root folder of your project and select
CommitYou should be able to now close all of these newly created files
Open the
welcome.jsfile under thesrcfolderClick on the
eyeicon to Preview the app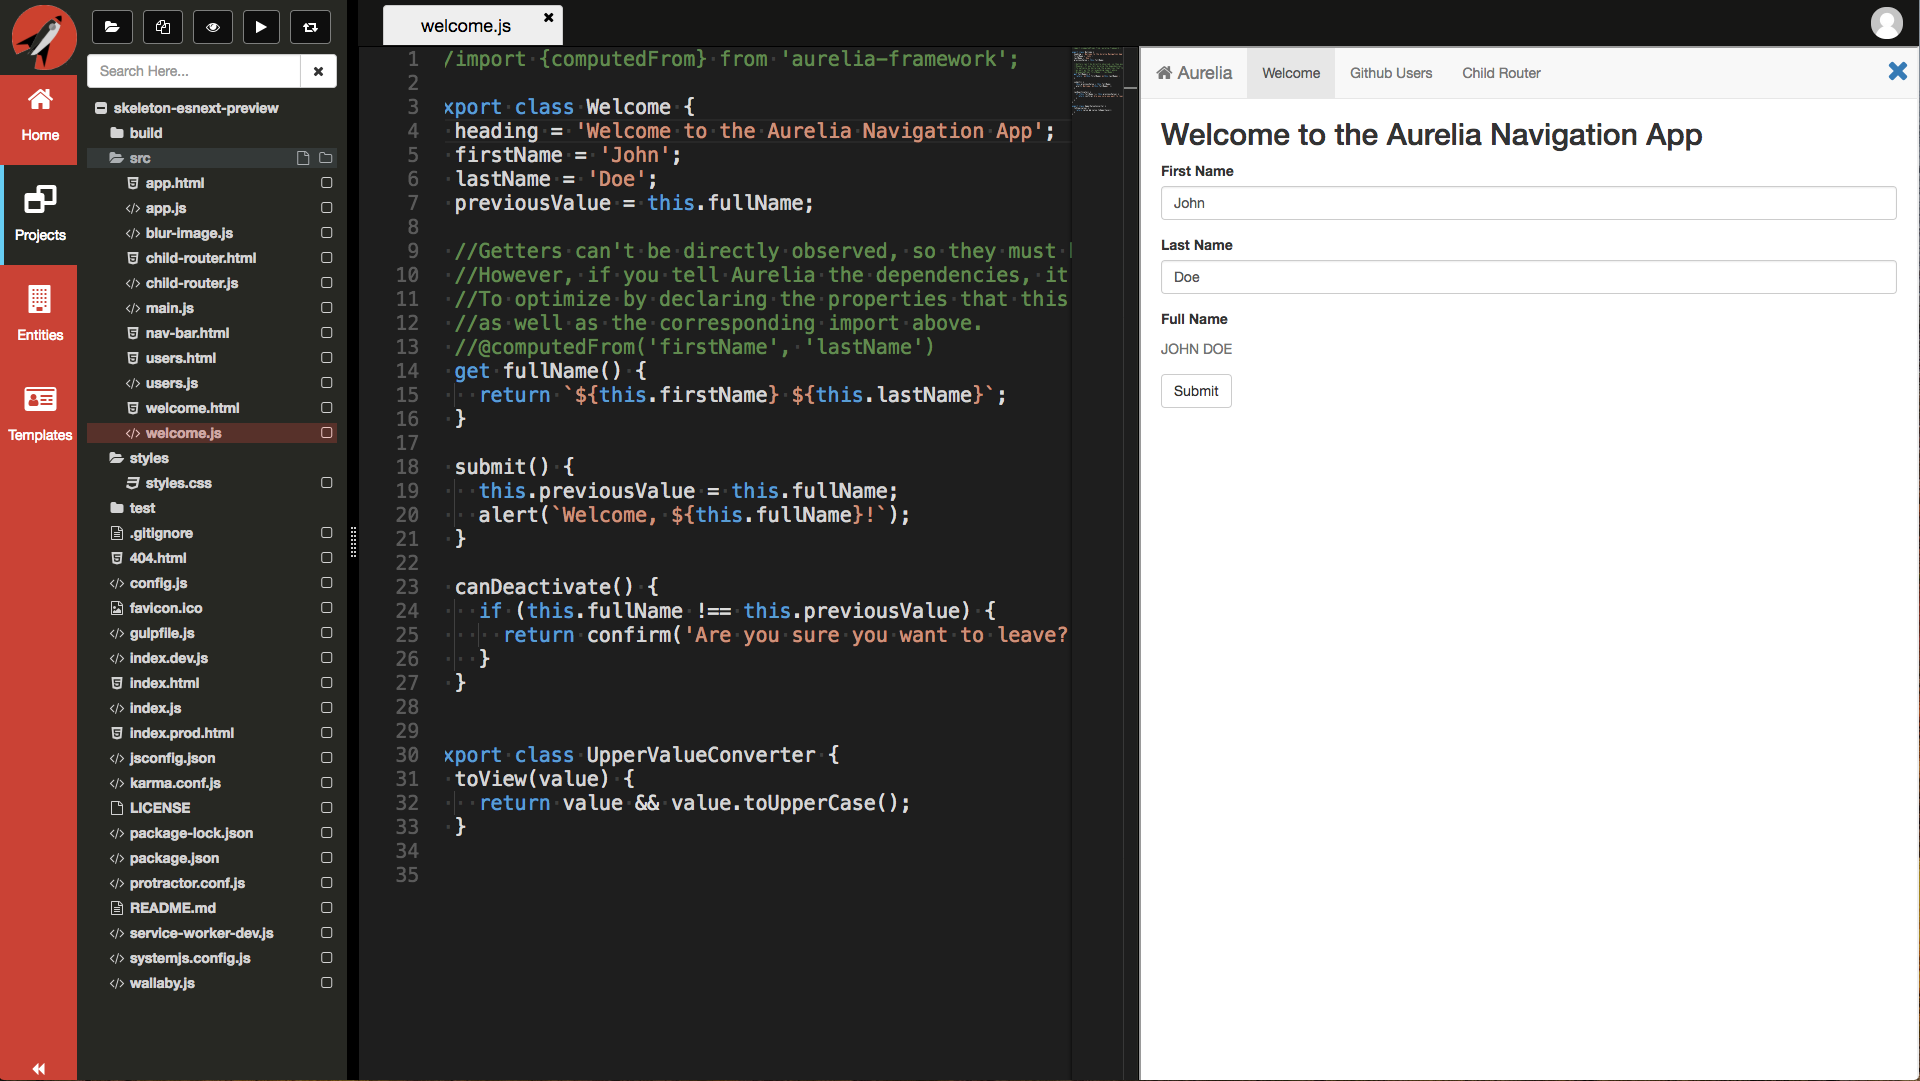
Now, change the heading to
Hello from Frontend Creator!and hitCtrl|Cmd + Sto save your changes locally. The page will refresh with the new changes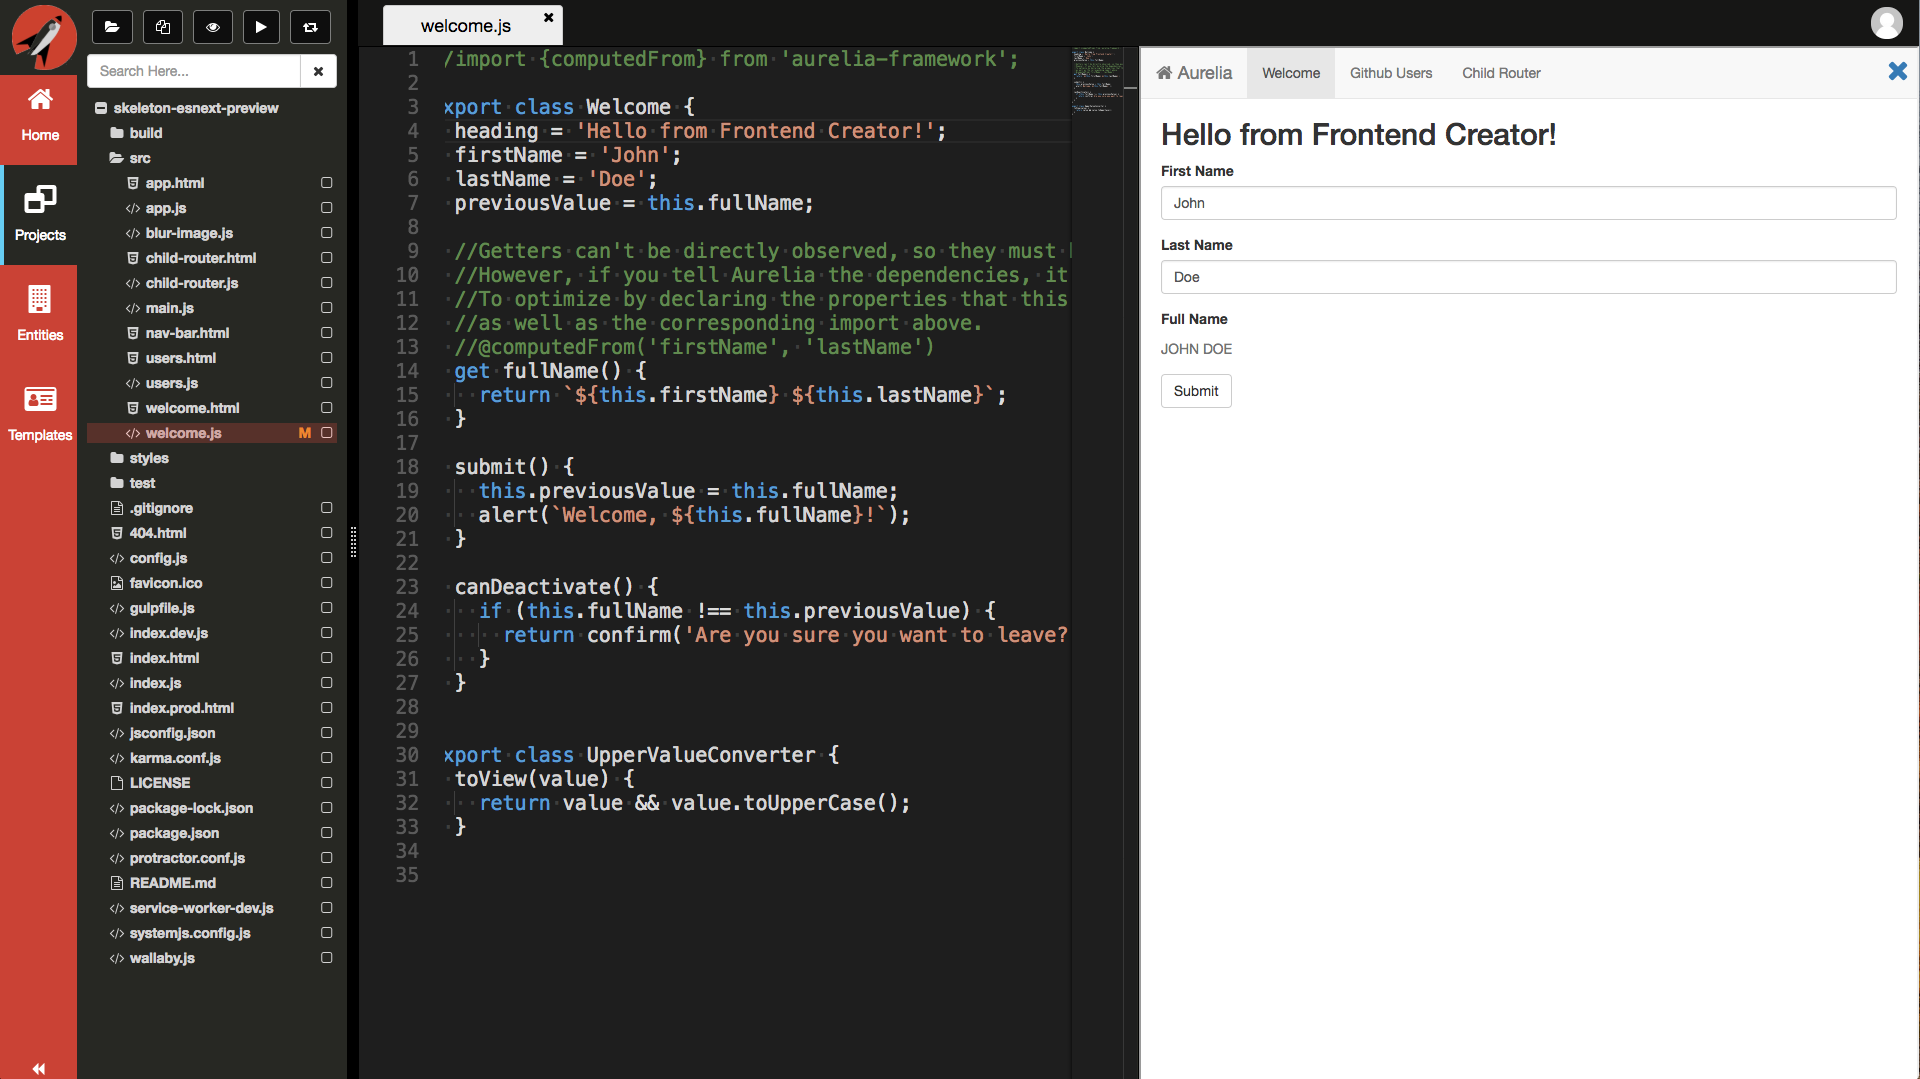
We curretly refresh your page and reset it to the root so if you are using a router and were testing a certain route, you will need to navigate back
- That's it! Live preview is setup. It will keep track of all of your changed files and ensure that the IFrame or any launched tabs are always in sync